I’m ecstatic to show off this project. I’m too excited to think of anything to say about it. Maybe if I start with a picture some words will follow. This post is a bit picture-heavy; I’ll explain why at the end.
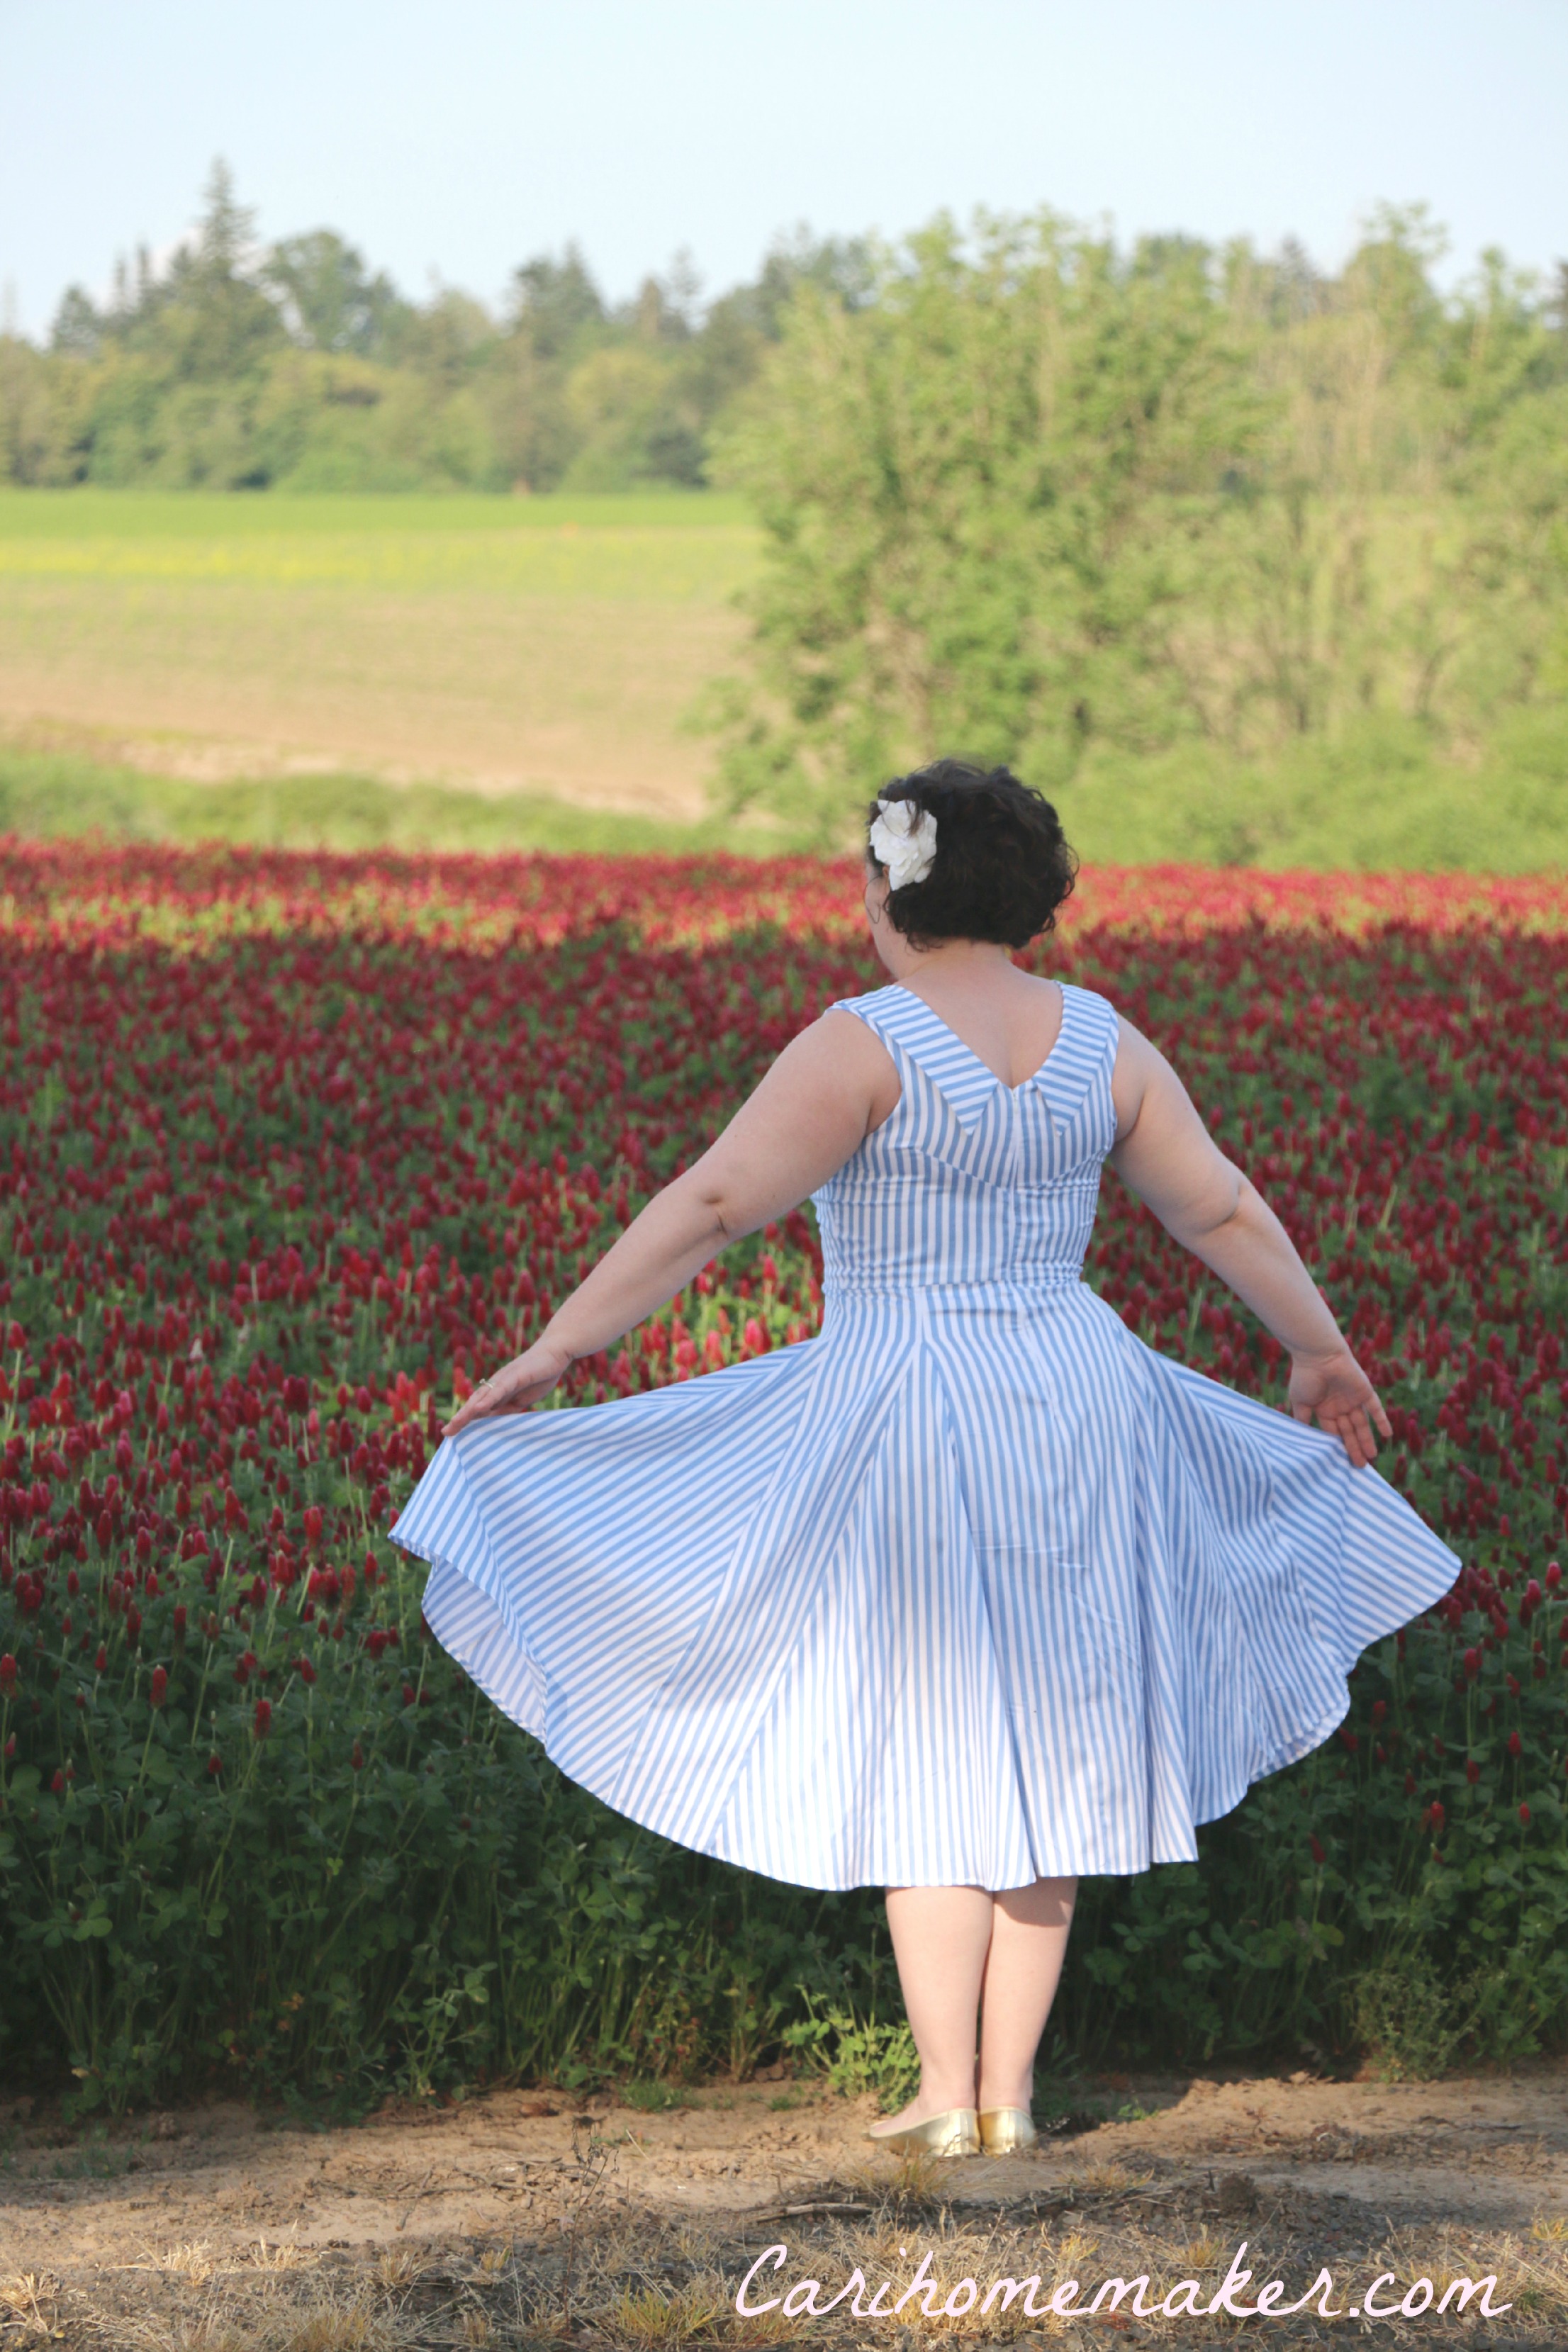
This is the By Hand London Sophia Dress. I loved this pattern even when all they had shown of it were some preliminary line-drawings.The godets are such an unusual dress feature that I knew I wanted to play around with them. This skirt is swishy, even twirly, but not overly bulky, especially at the waistline.
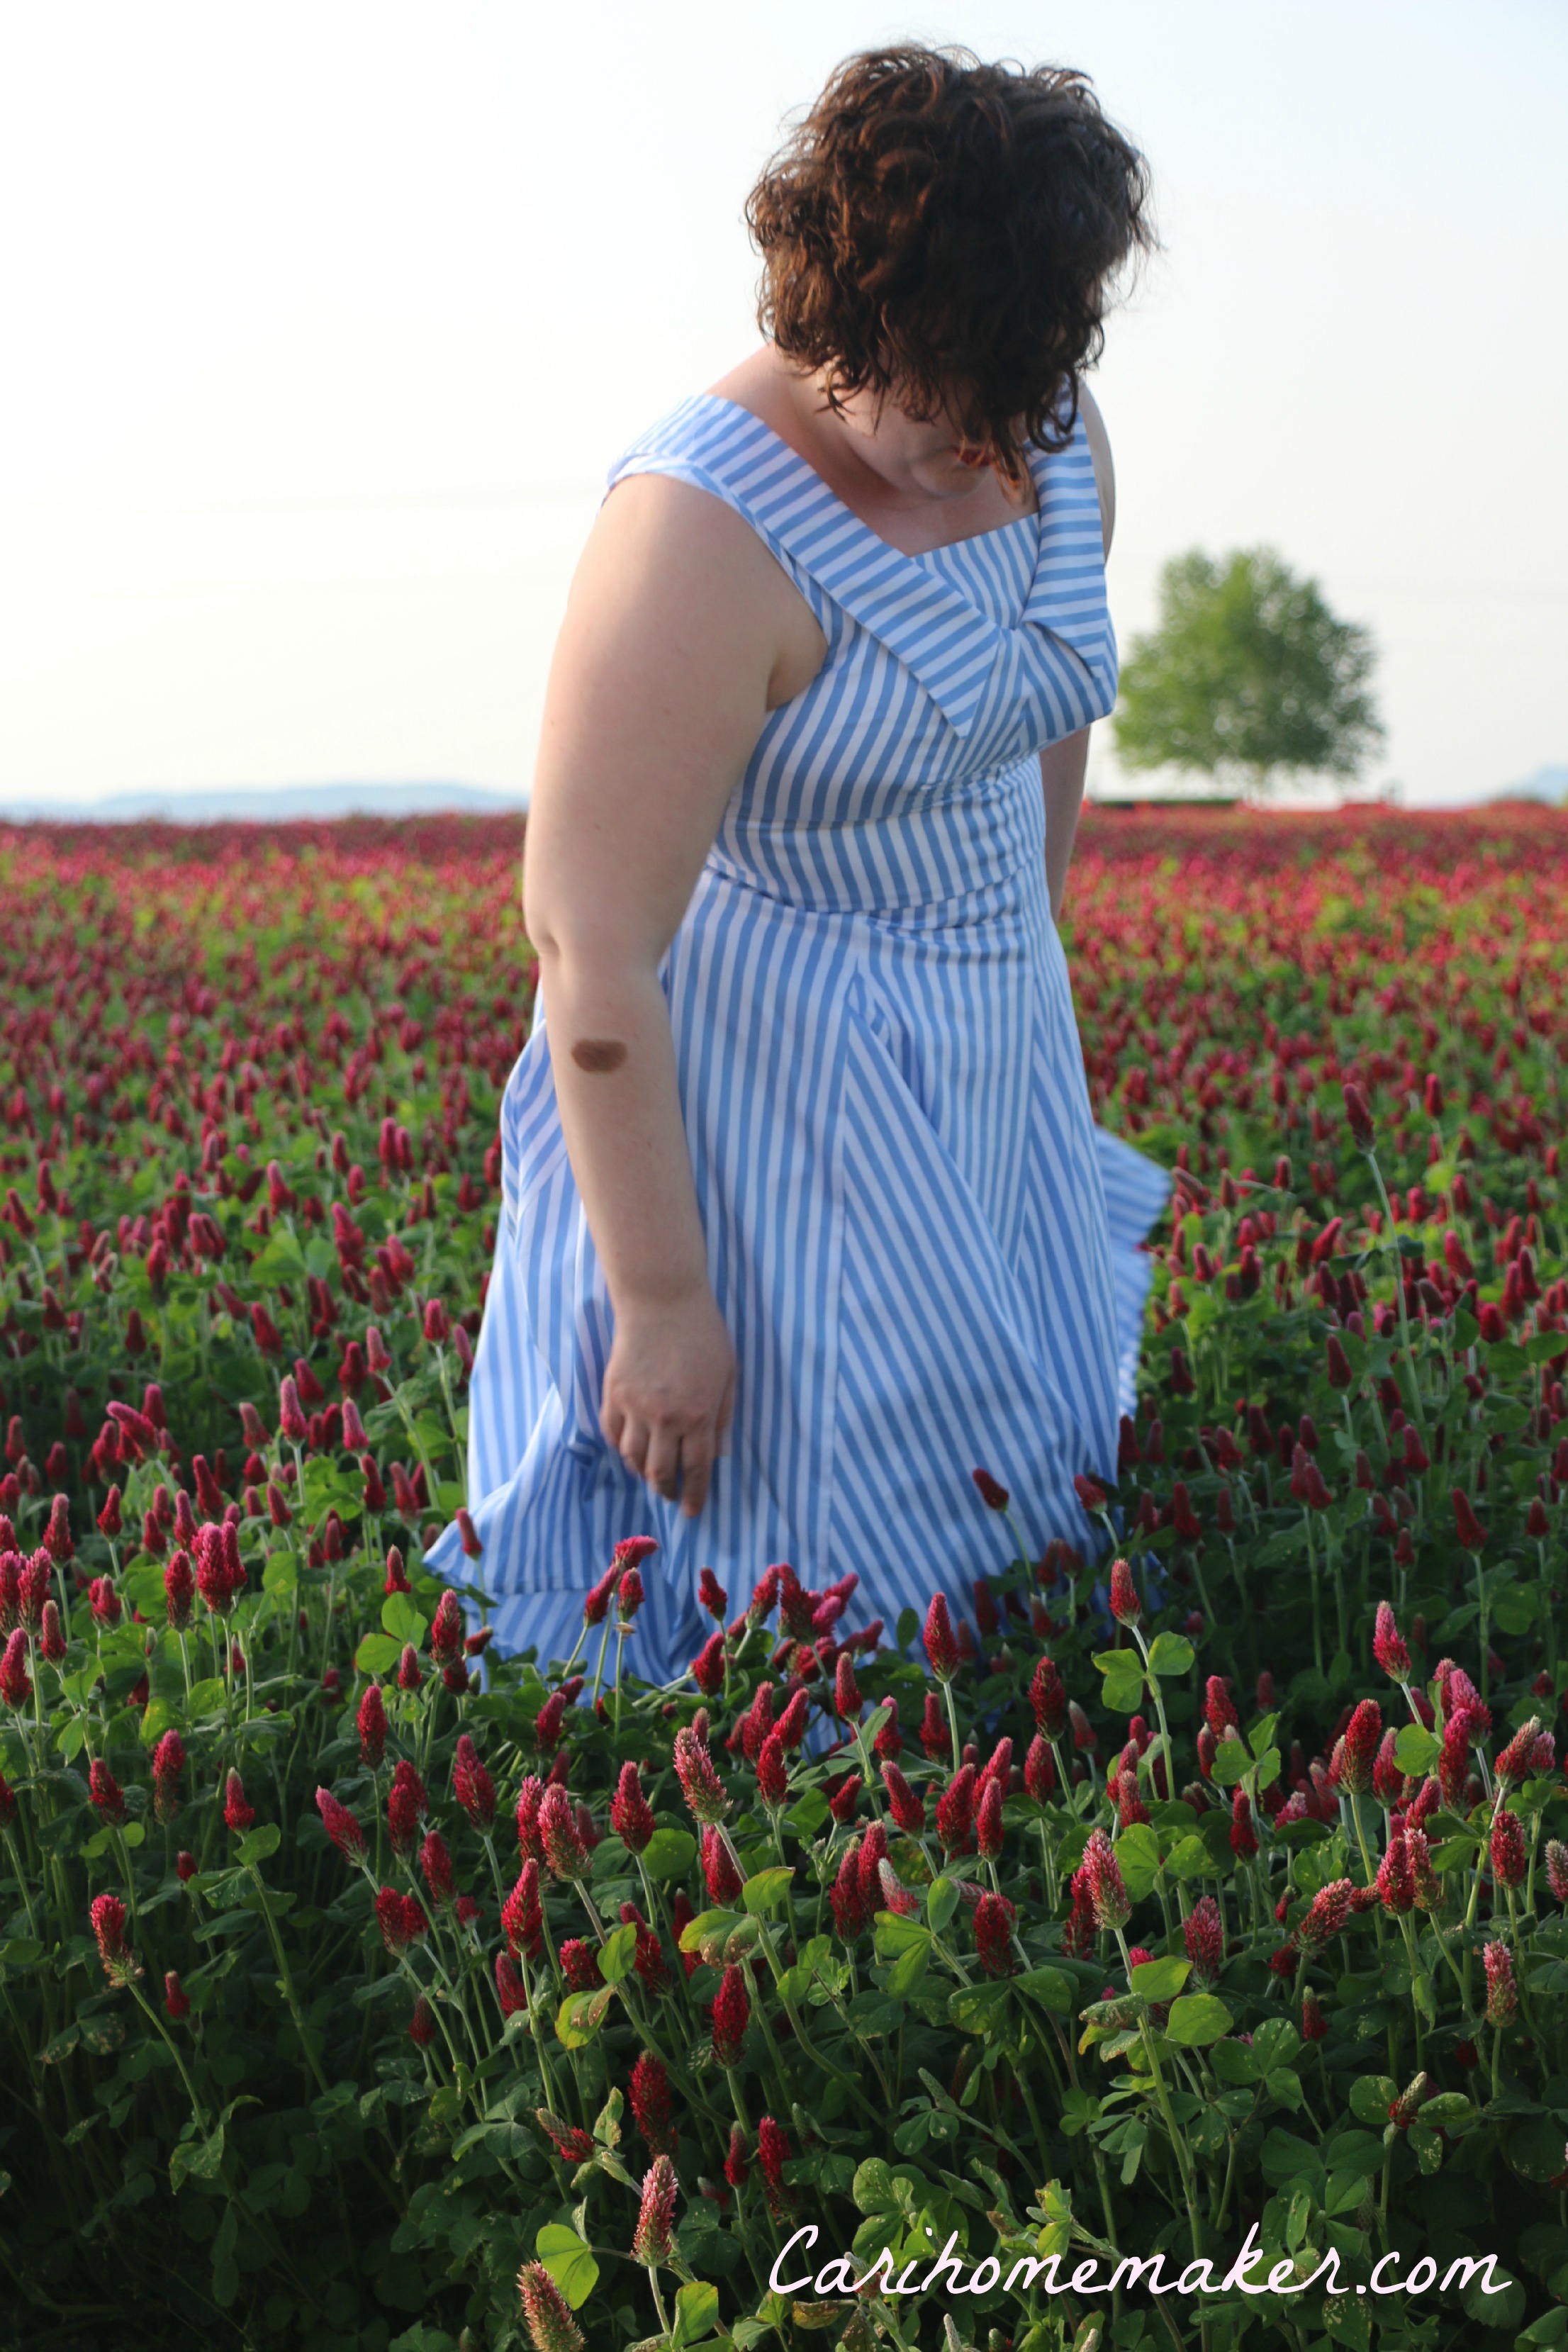
With so many seams and pieces to this pattern, it seemed like the perfect canvas for playing with stripes. Before I started I did ask the BHL team on twitter about whether they thought changing the grainline for the godets would affect the pattern. They hadn’t tested it, but didn’t think it would be a problem. I can now say I’ve tested it, and it worked a treat. The pattern is drafted so the godets are cut at an angle. I went with a grainline that went straight up through the center point of the godet for the purpose of stripe symmetry. The main drawback to doing this is that it can drastically increase the amount of fabric needed, but I think it was worth it.
The fabric is a cotton sateen from my stash. It’s a fairly thin fabric, but its opaque. When I bought this fabric, I nearly passed on it since I wasn’t sure what I would make from it. I’m glad I bought it though, since it turned out to be the perfect match for this dress.
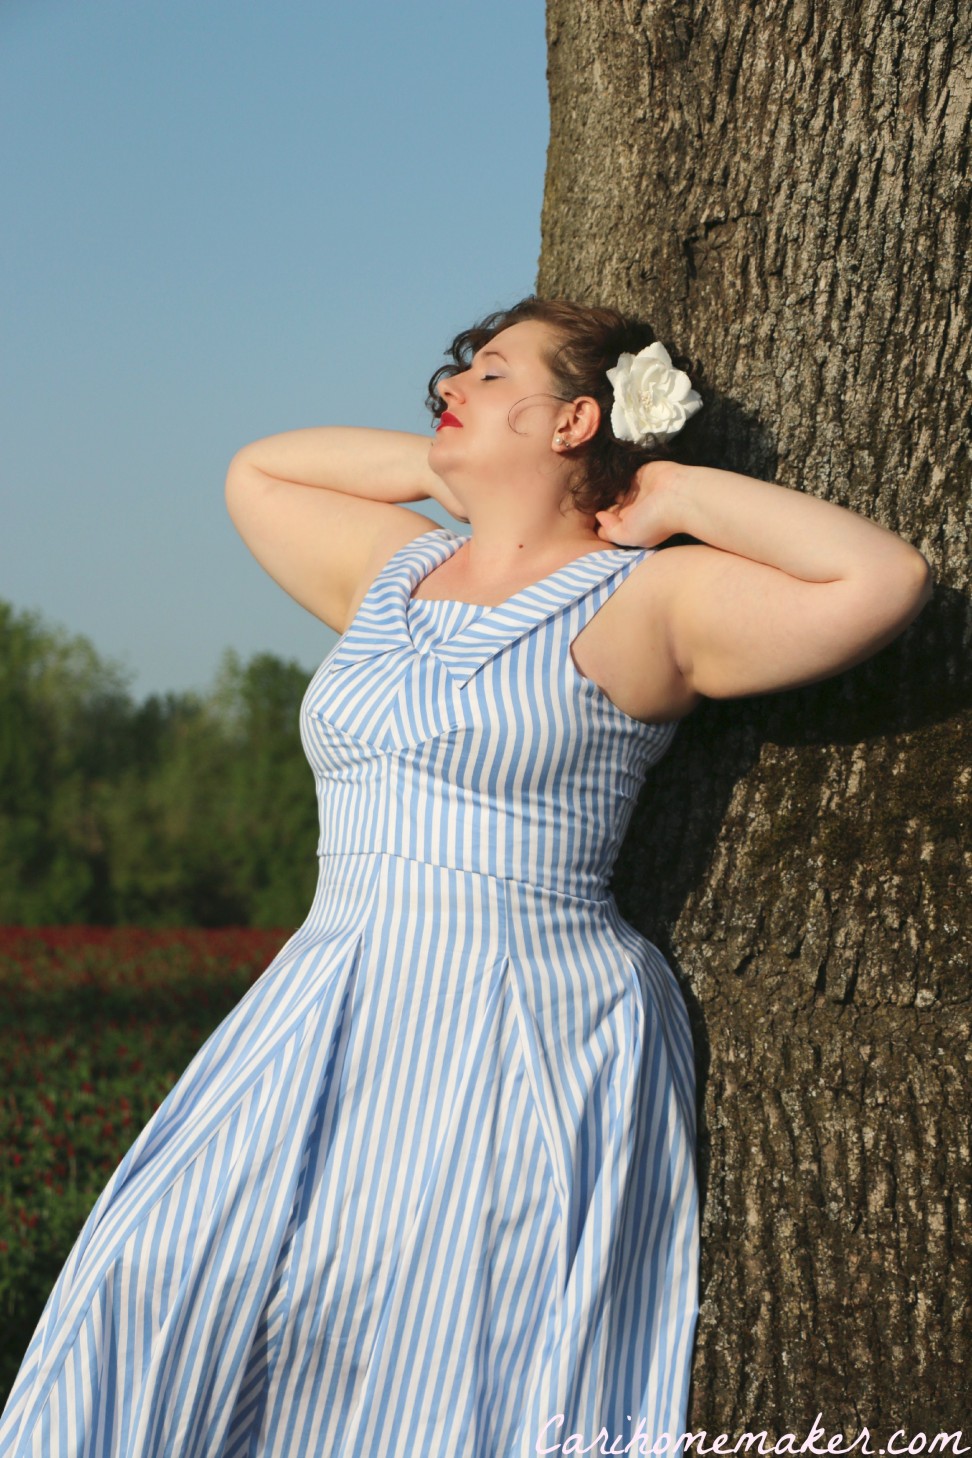
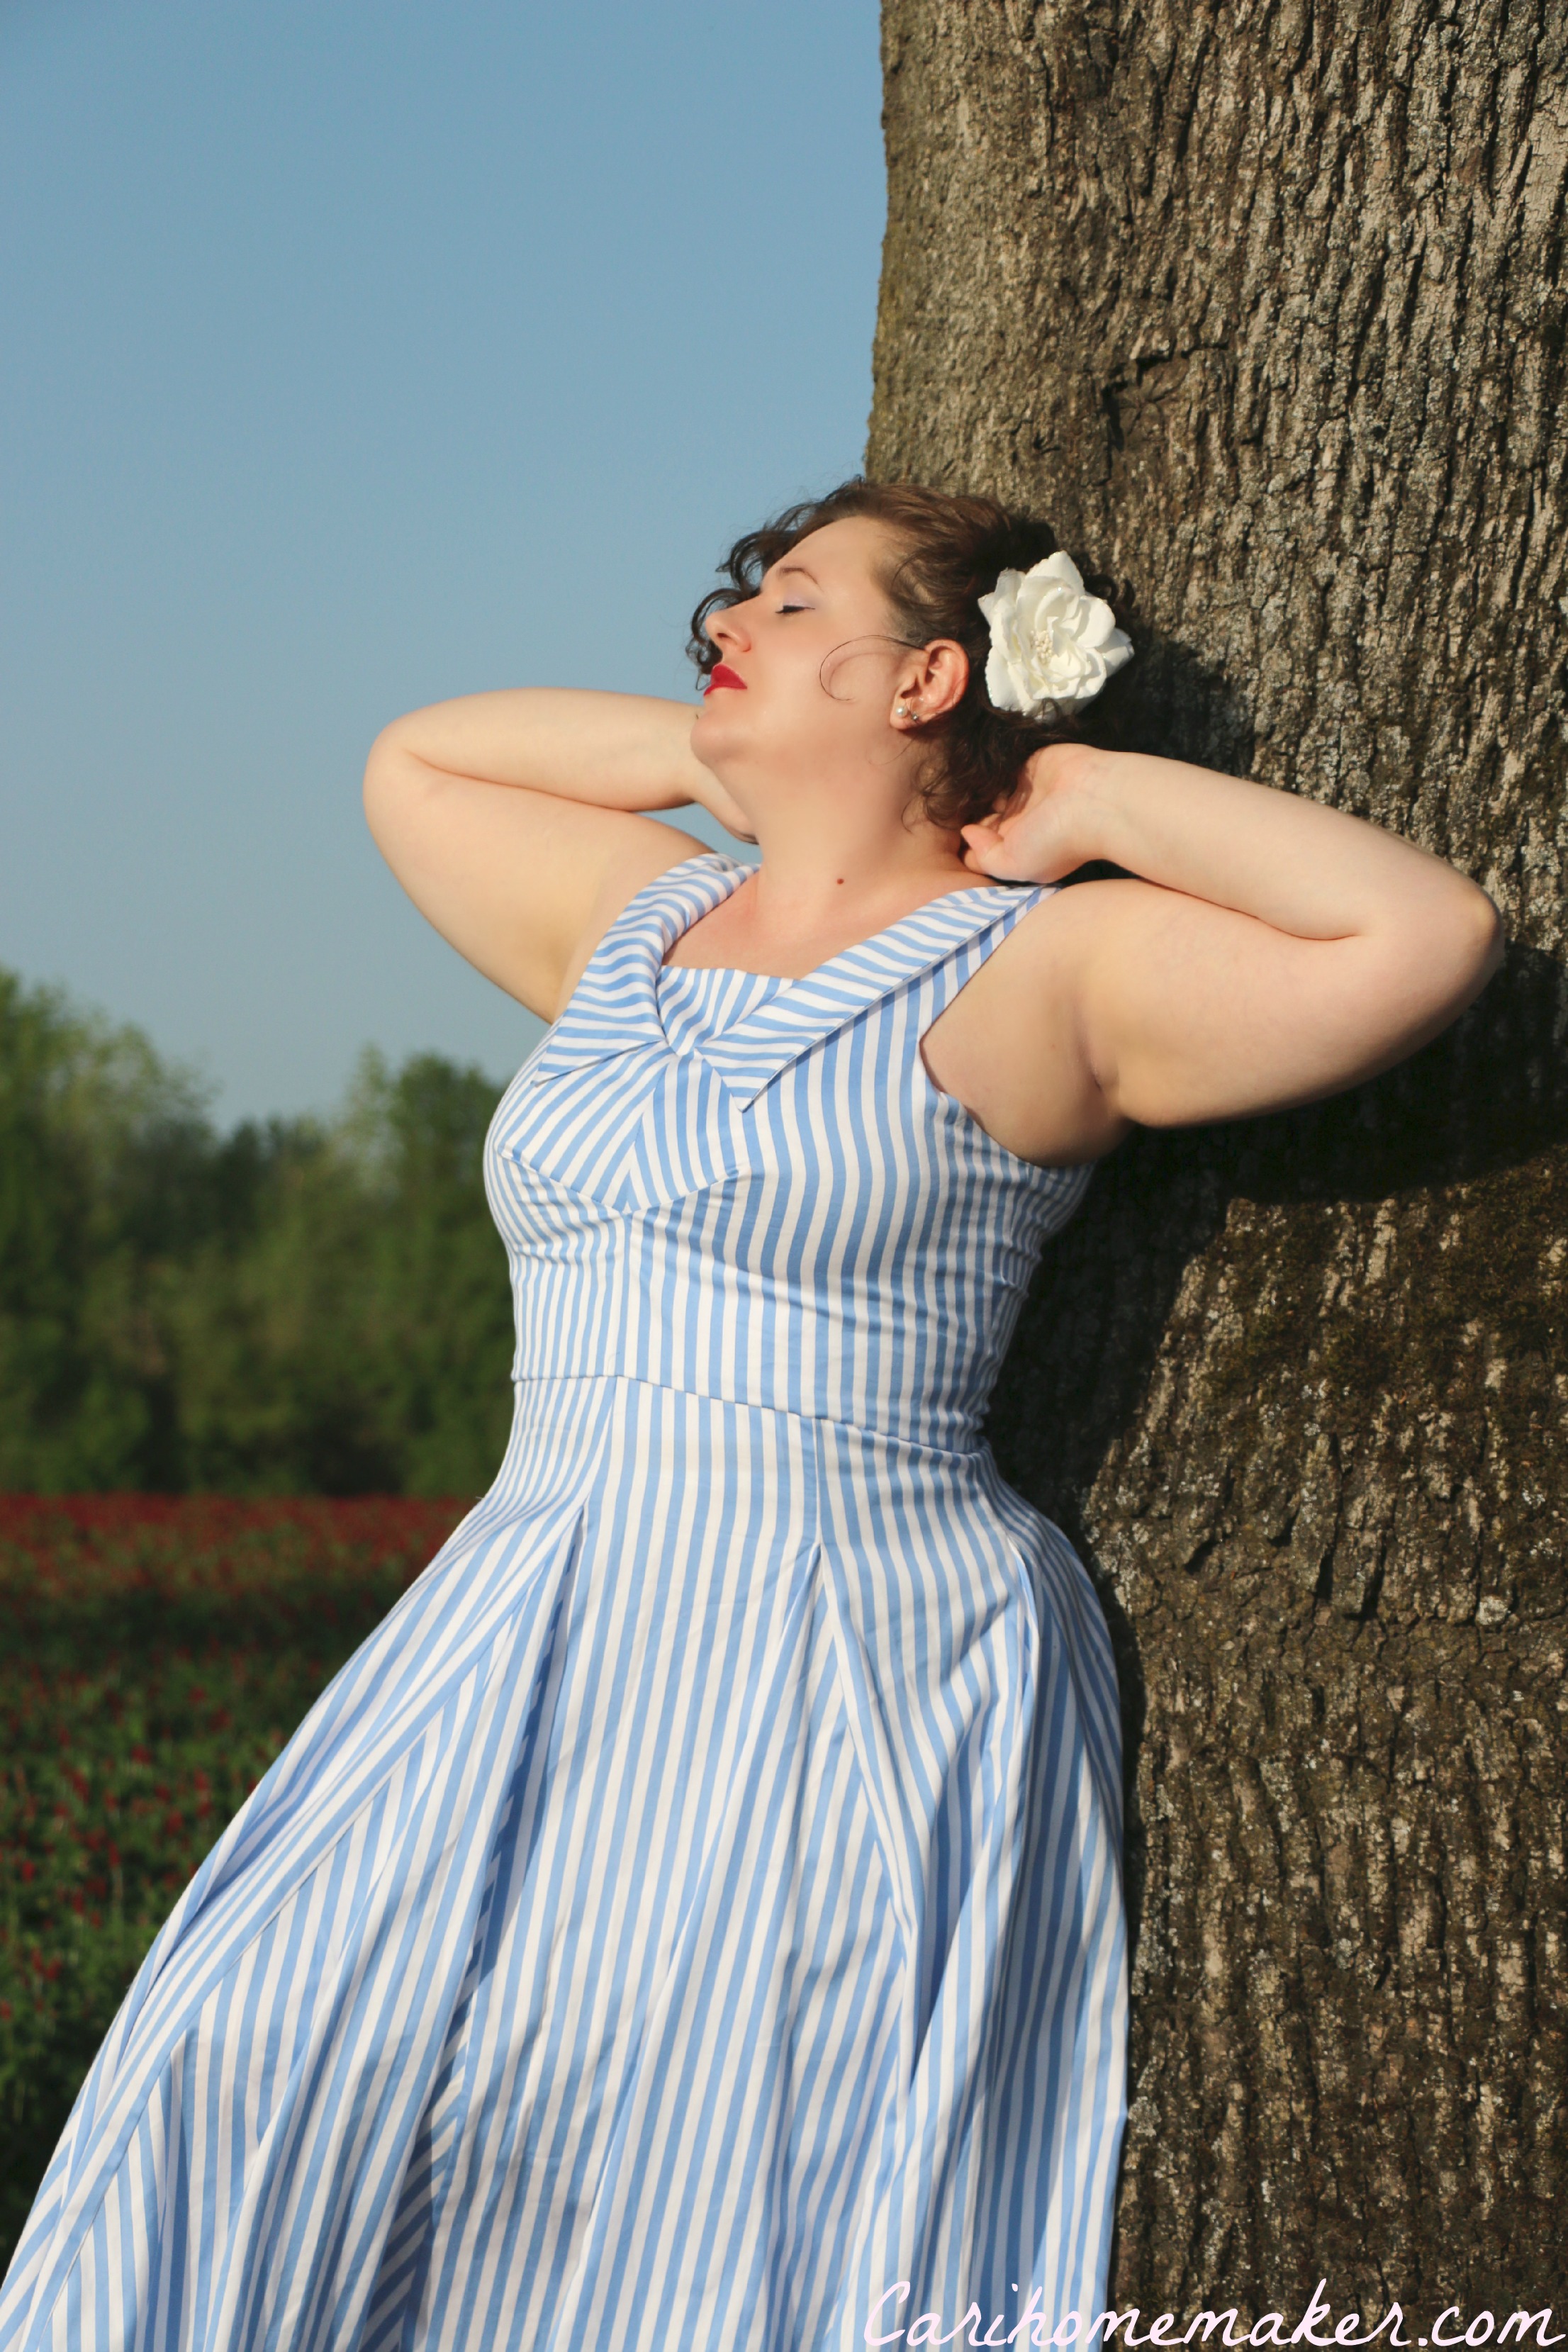
The bodice darts are set up unusually to come out from a center front seam and center back seam. This led to even more interesting stripe effects.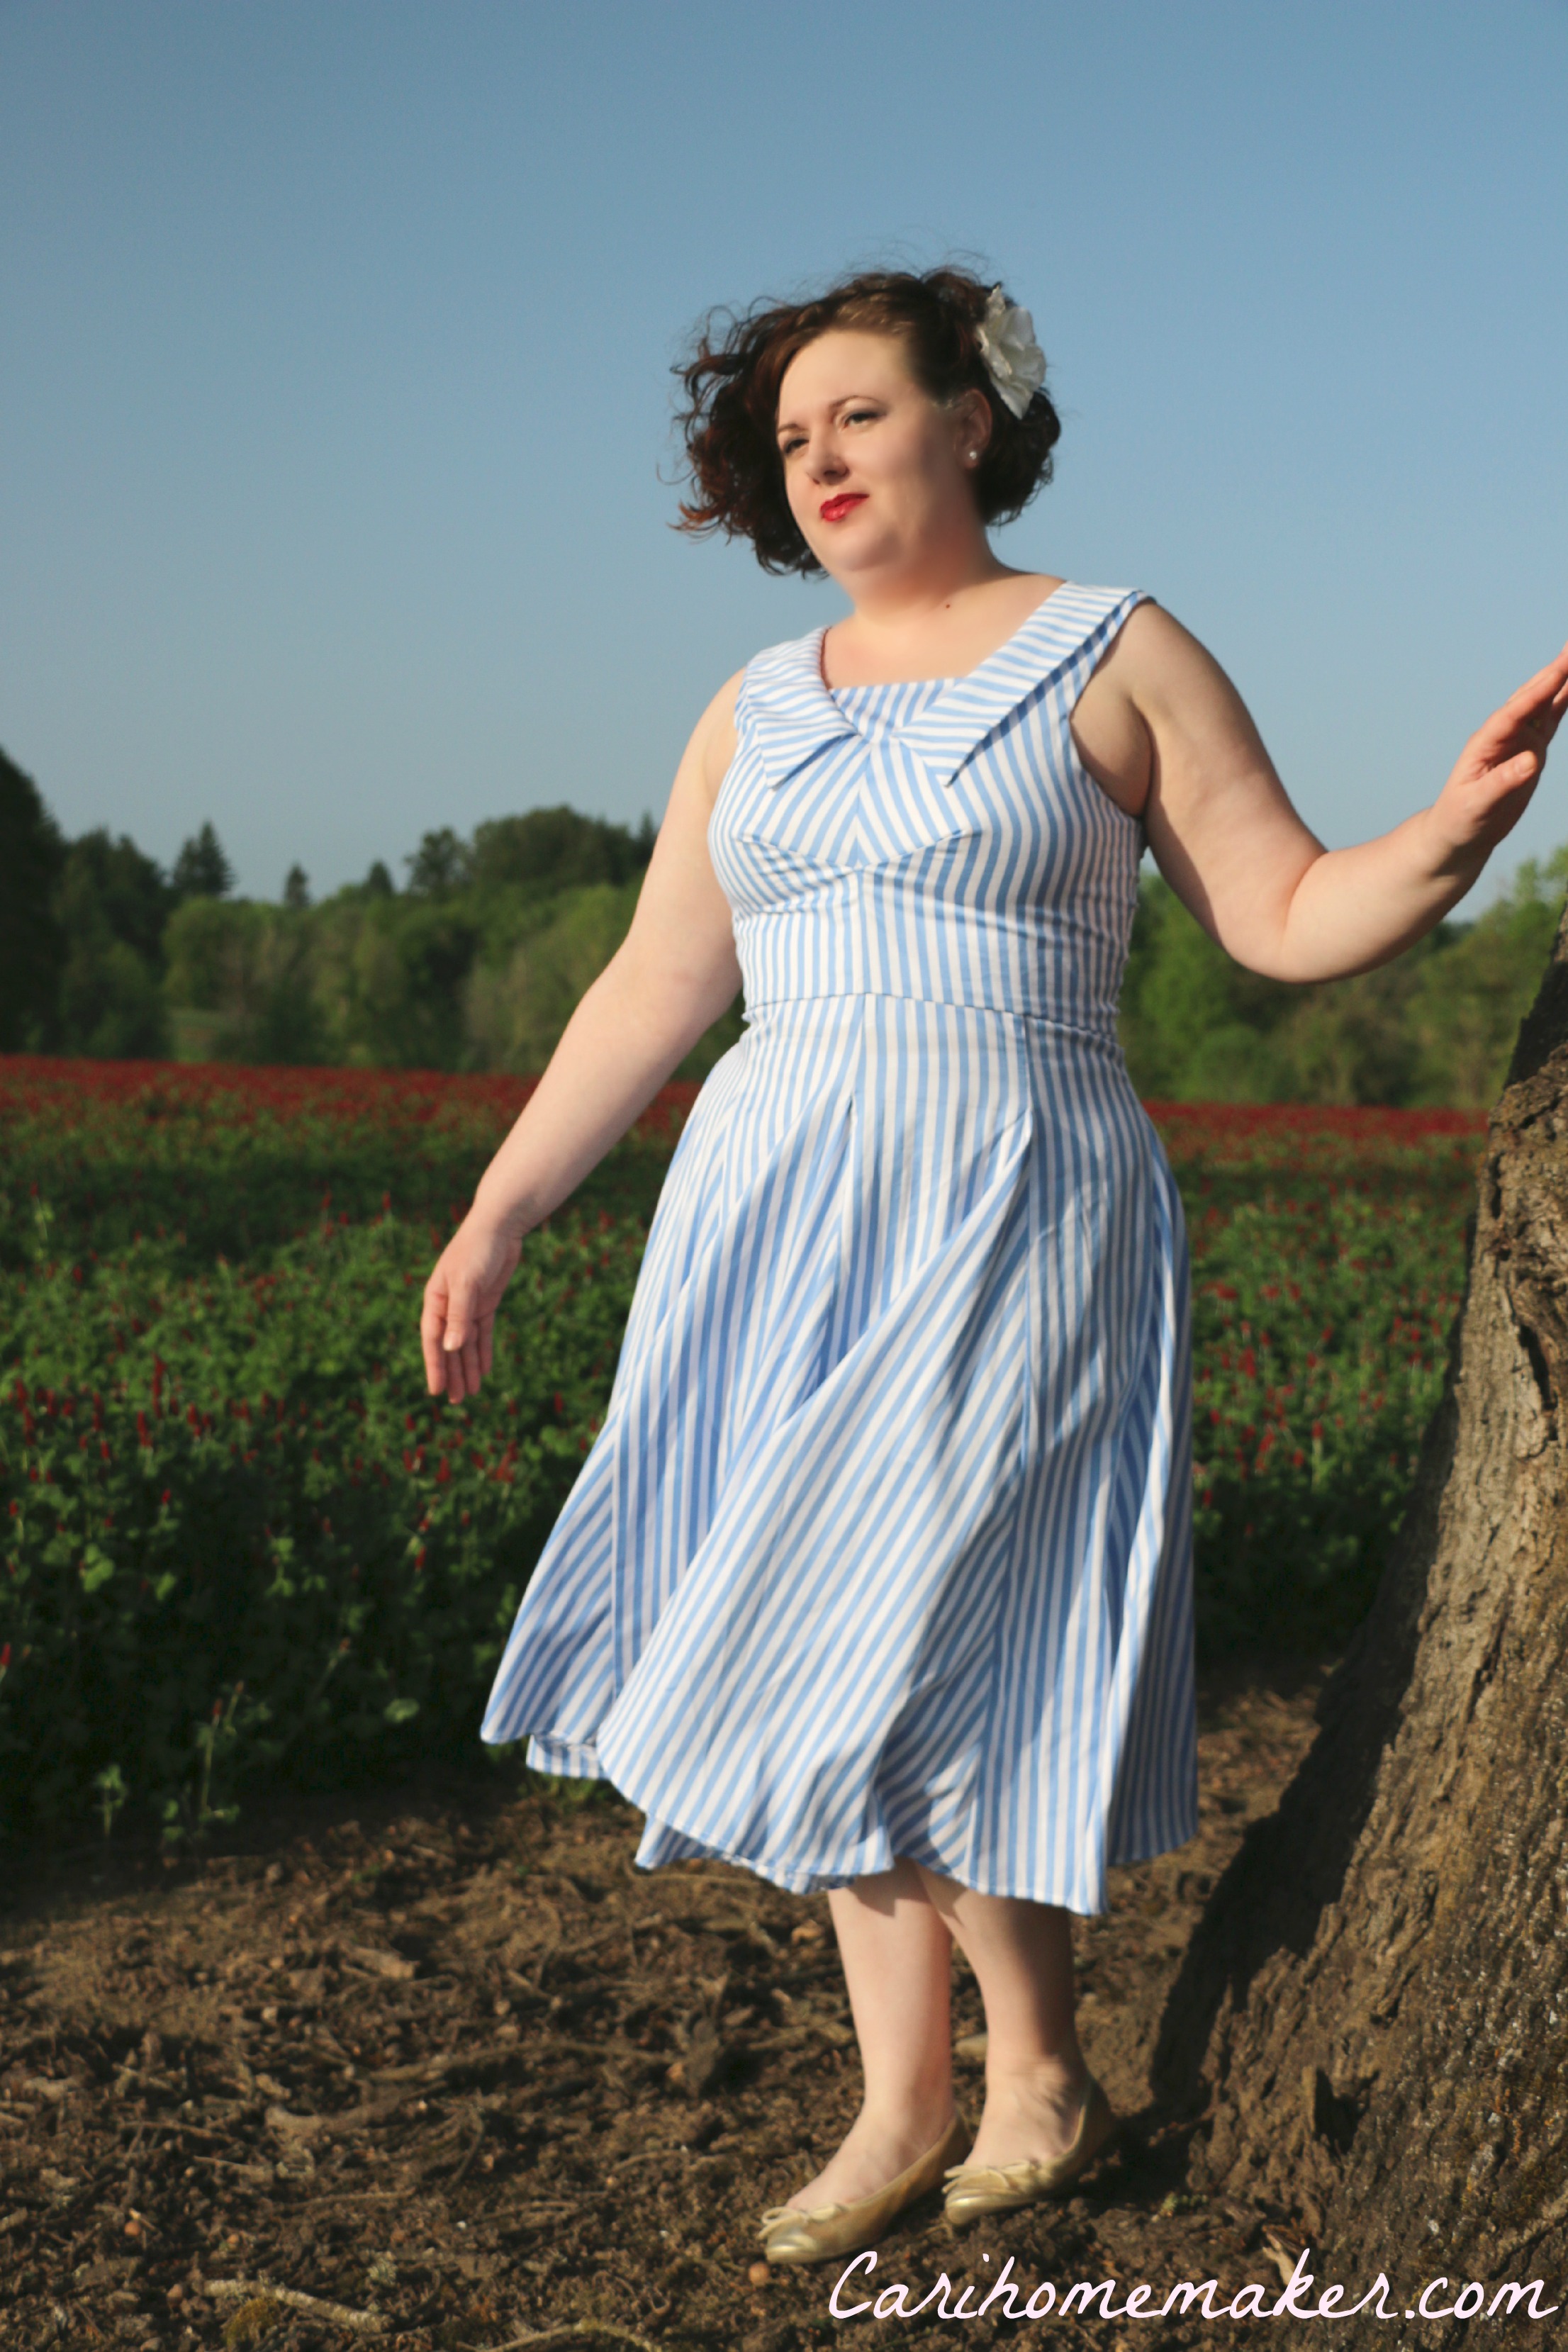
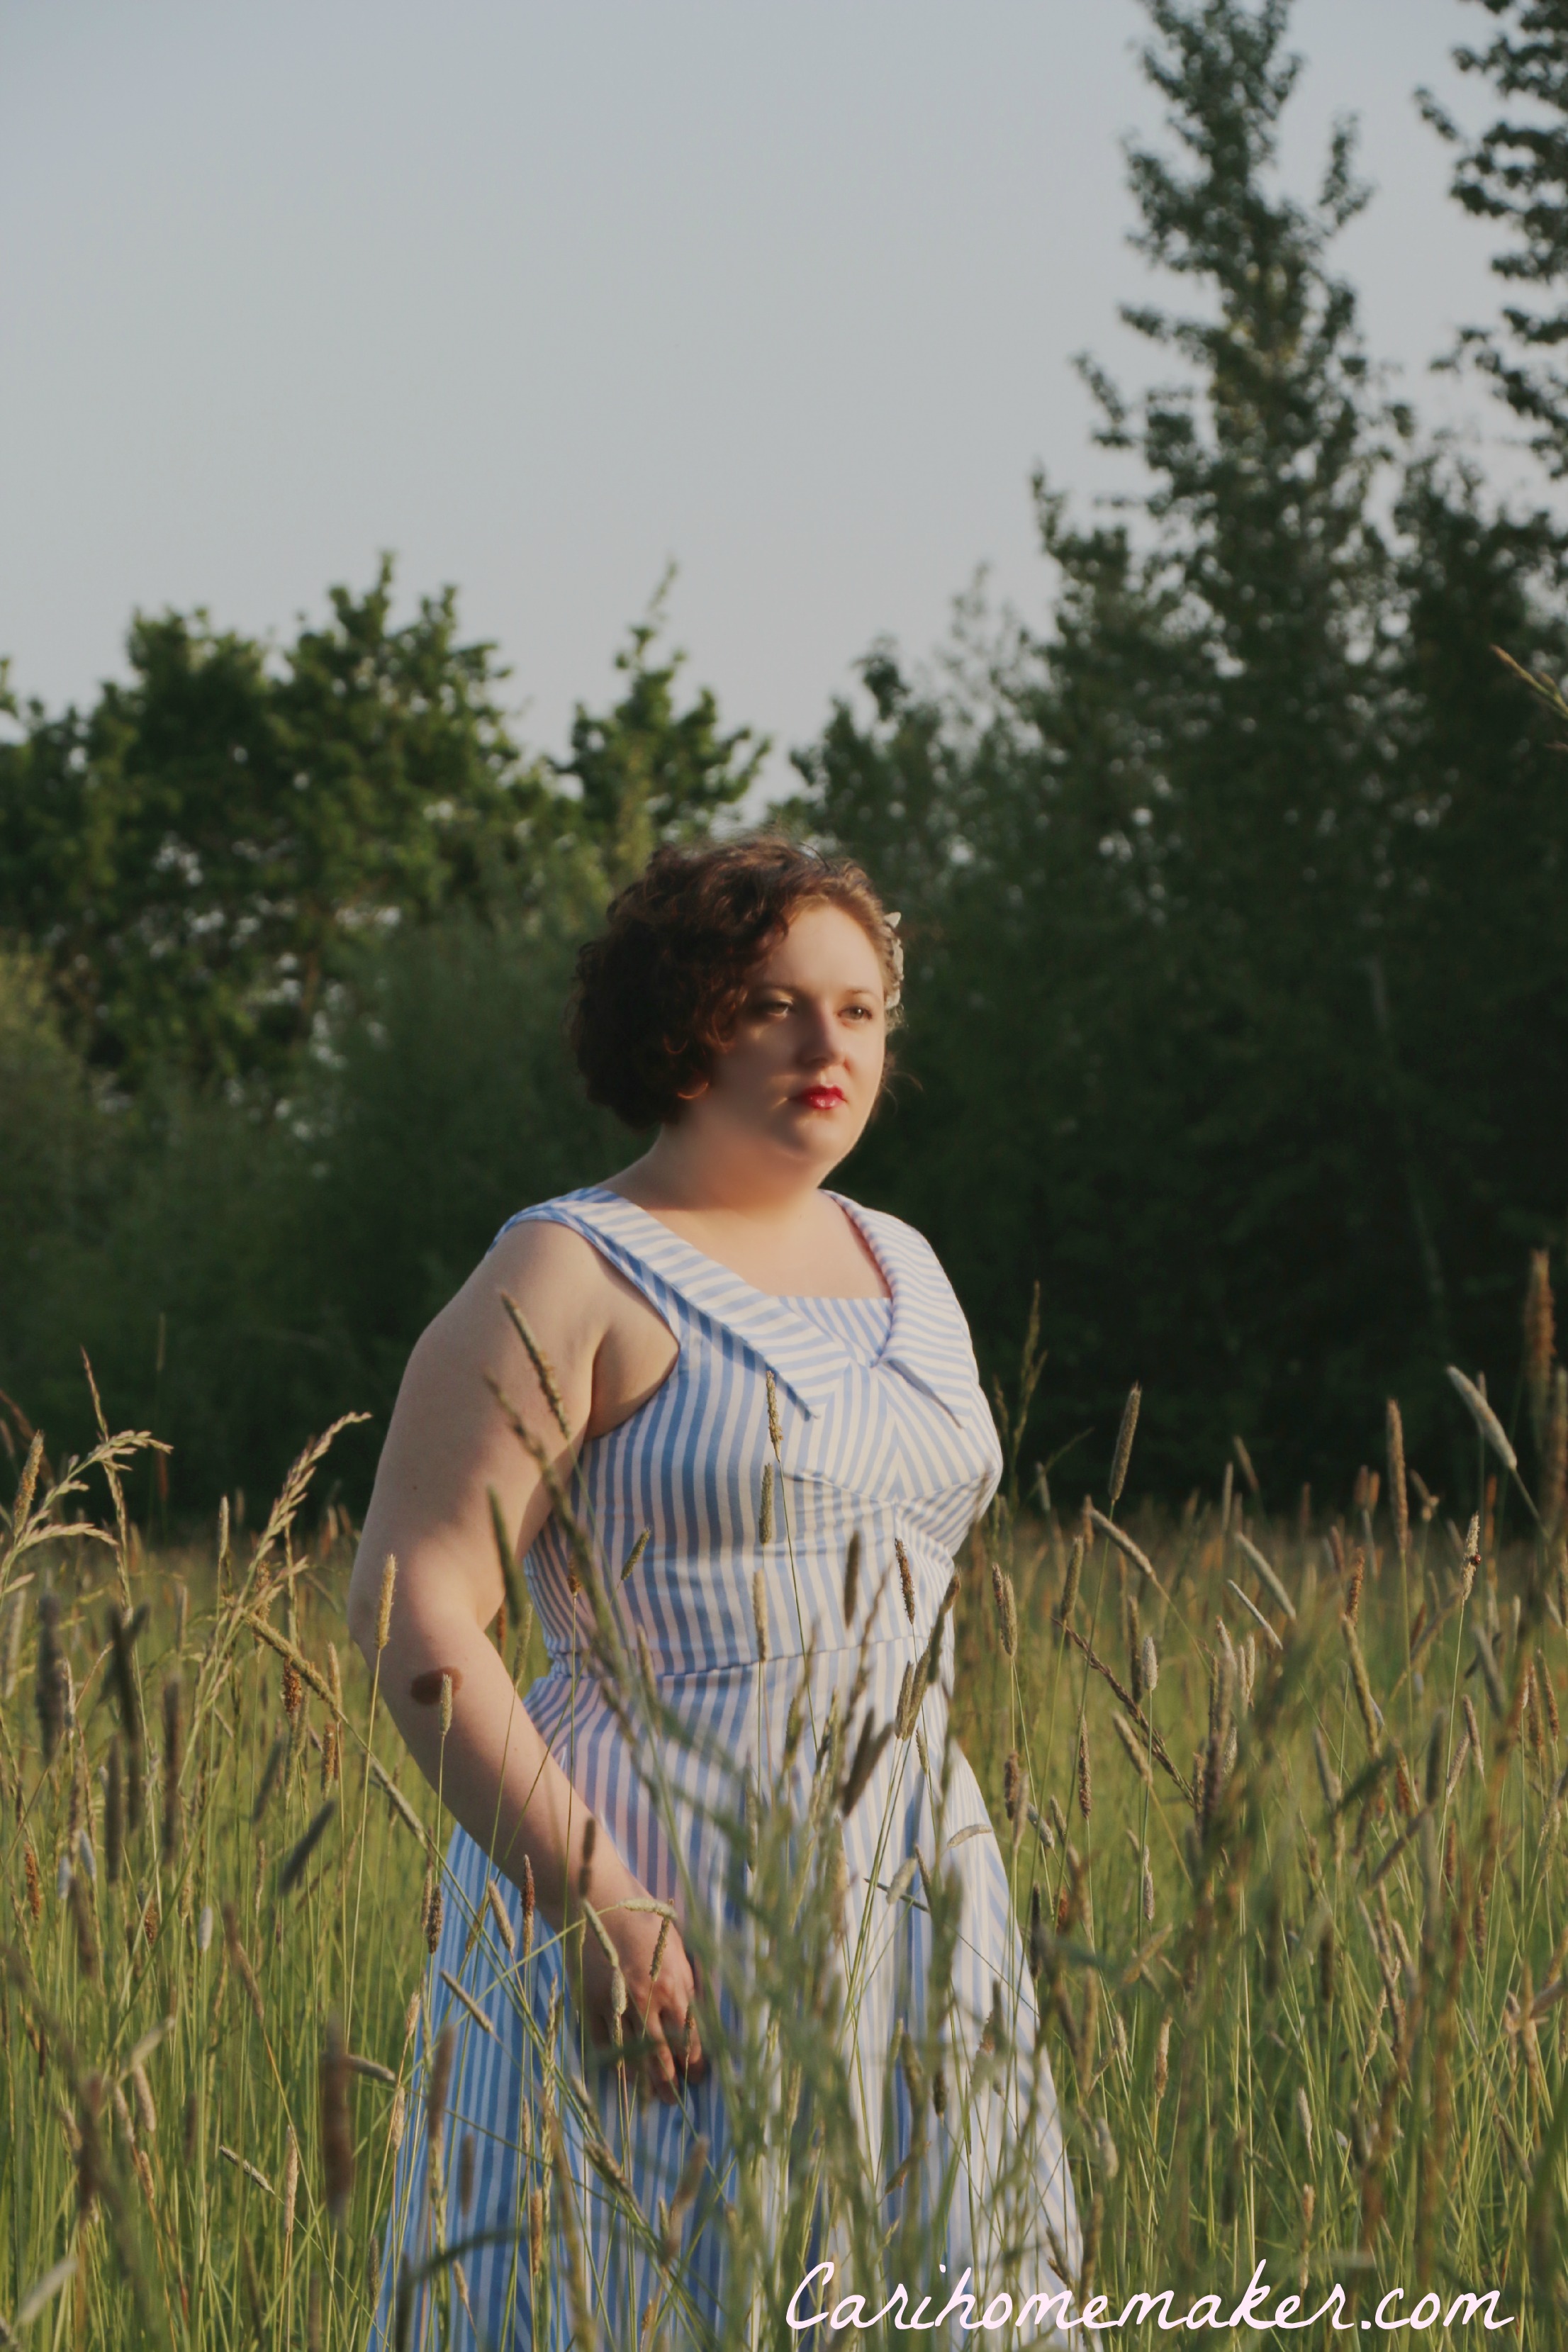
What is particularly interesting to me is that it didn’t take any extraordinary measures when laying out the pattern for the stripes to end up matching up the way they did. I did try to make things symmetrical on right and left sides and to match across the shoulder seam. Of course that particular matching didn’t end up mattering that much after I put the collar on since the collar is nearly as wide as the shoulders.
One significant change I made to the pattern was to add a piece at the neckline. A lot of sailor-style dresses, especially vintage girls dresses have a similar modesty piece. I put this one together as slap-dashed as it sounds. It’s a trapazoid-ish shape, lined with the same white batiste as the rest of the bodice. A few snaps hold it on, so if I wanted to wear the dress with the original neckline, I still could.
If the stripes haven’t distracted you, you might have noticed this dress is very closely fit. It maybe would be better with a touch more ease, but with the way the bodice is cut, any additional ease might just lead to gaping. On that note, special undergarments are needed for this one to avoid straps showing.
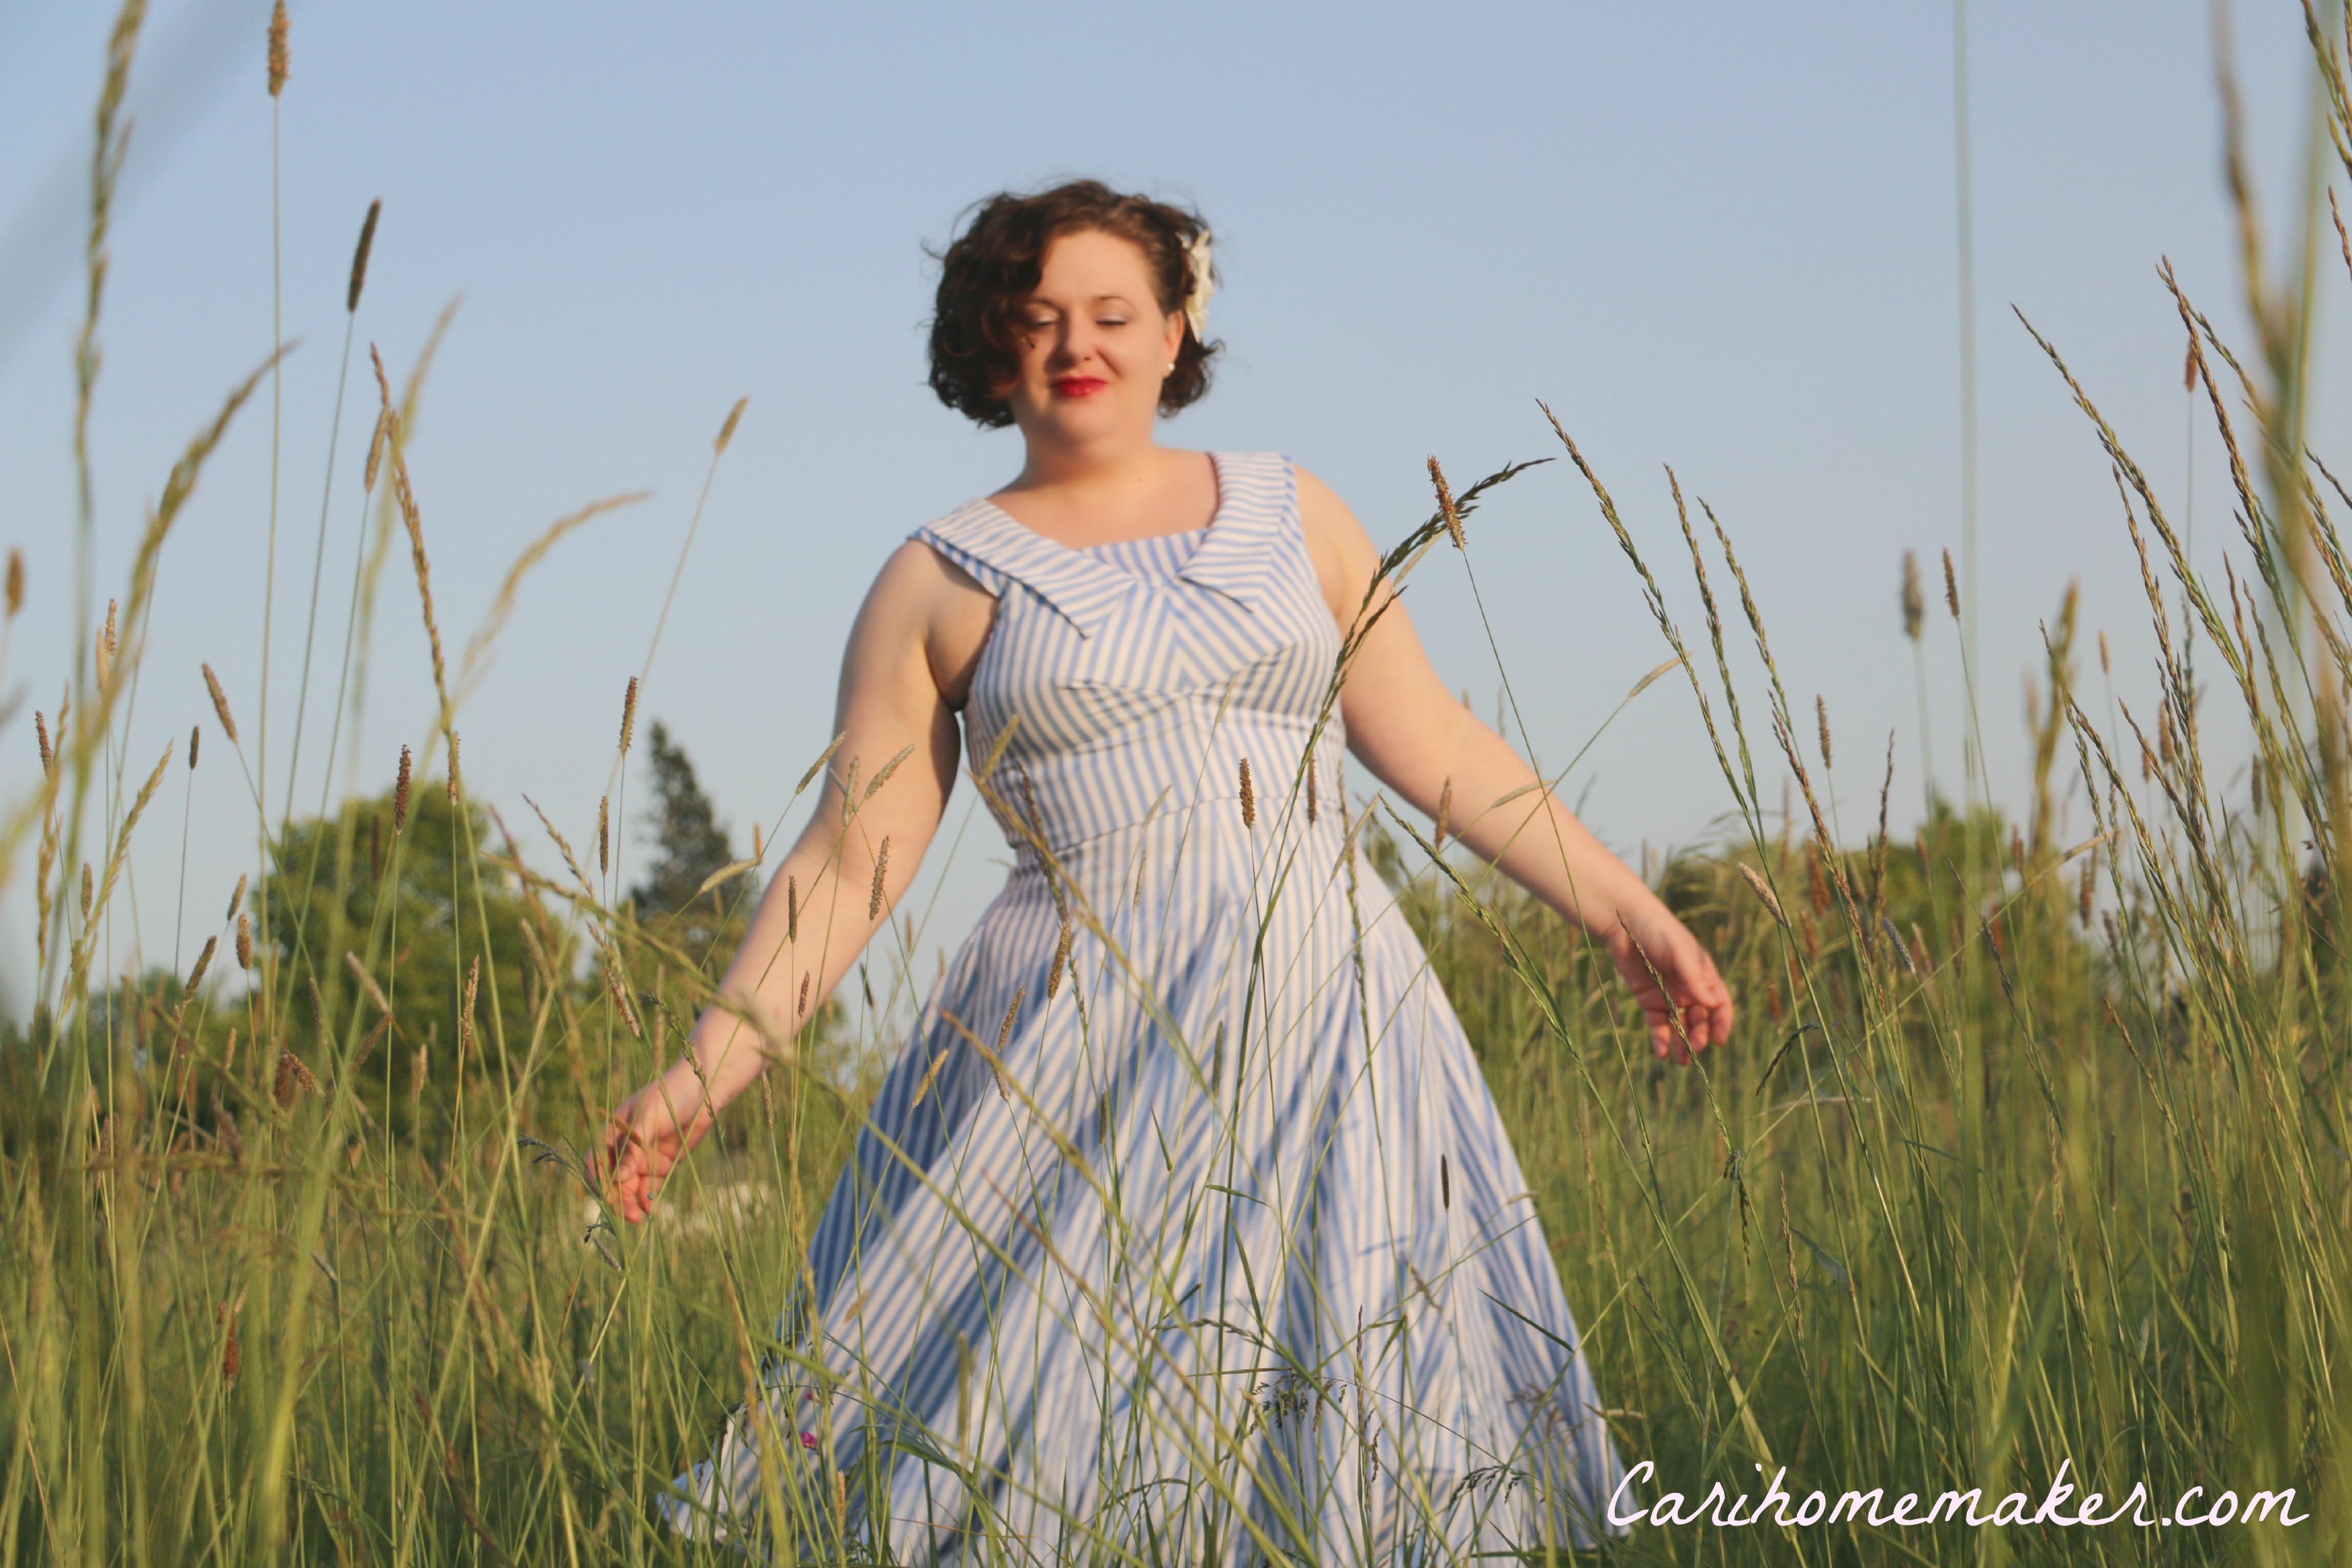
Let’s talk about the photos here. This dress deserved better than quick snaps in the backyard with whatever of my children was able to be coaxed into helping me out. My sister has been working on her photography skills, so we went out for an actual photo shoot. I know I look terribly serious in a lot of these pictures, that’s pretty much my usual look, especially since the locations we went to were both right next to rather busy highways. We did have fun though, and I’m hoping she’ll be up for more photo shoots in the future.
Stash-Busting stats: 10 projects this year. 22 yards of fabric.
Photo credits: Laura Singer


Leave a Reply